Finished product.

Indoor with flash.

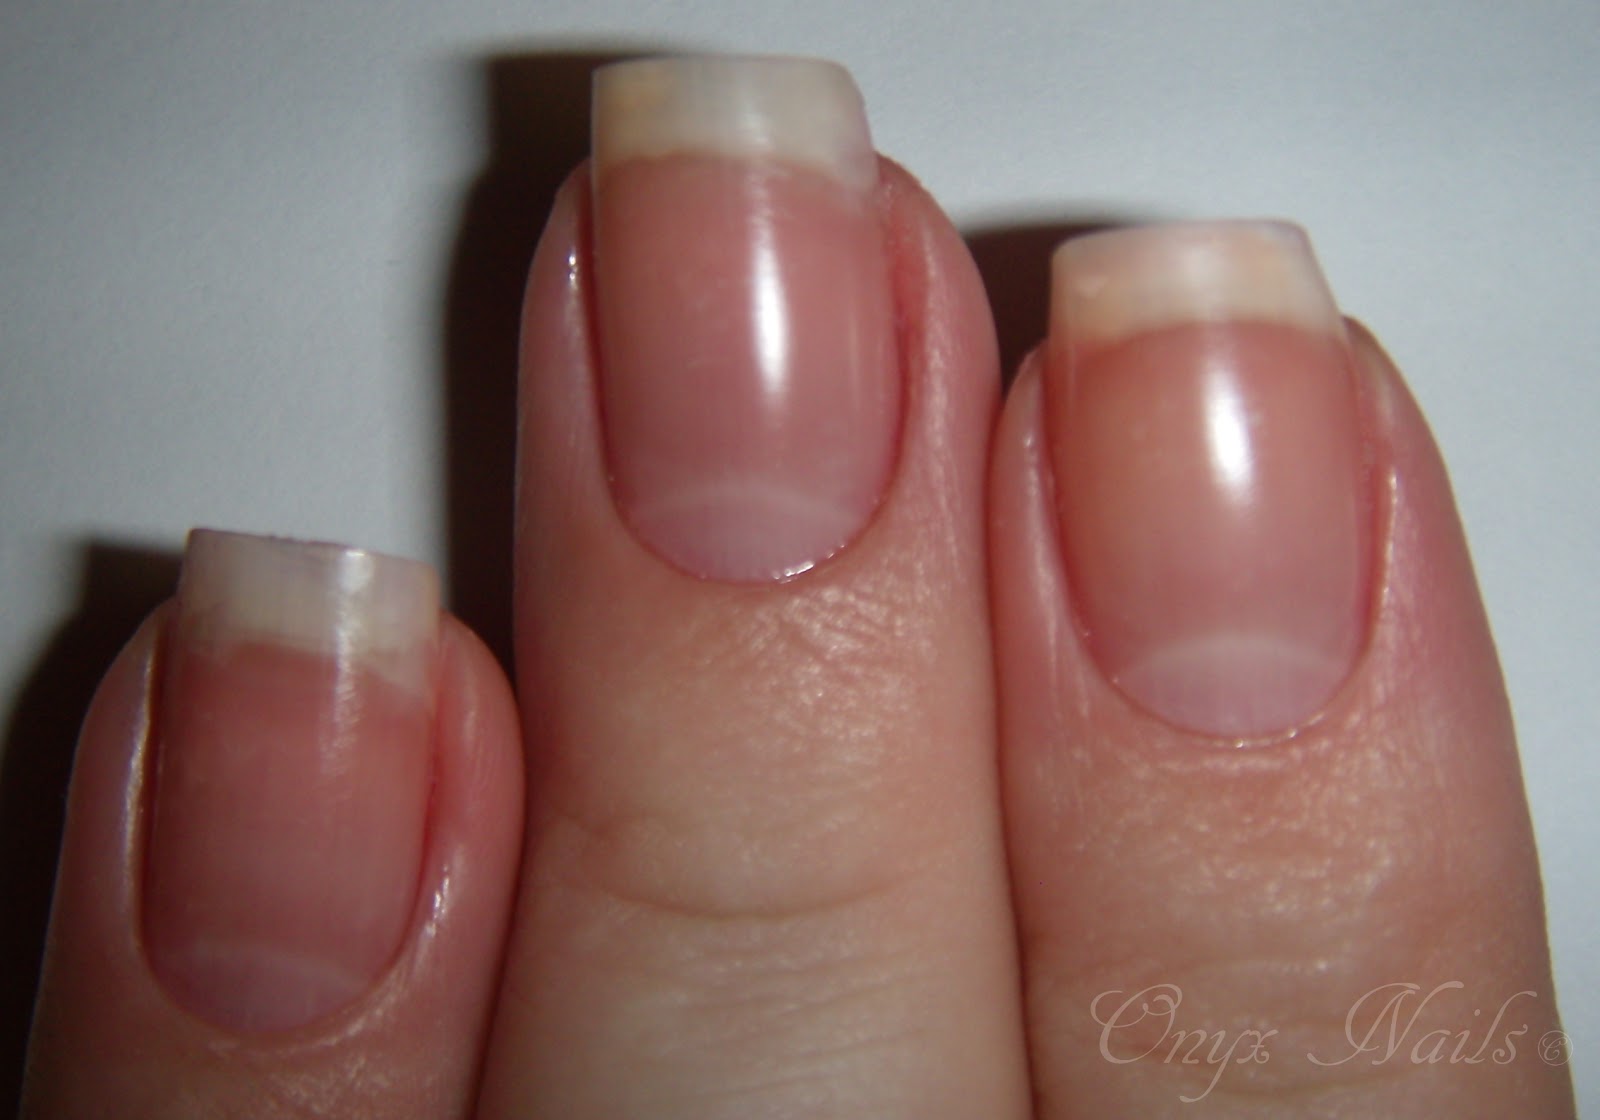
Indoor no flash.

Outdoor in shade.

Outdoor in sunlight.
Supplies!!!!!
Here's what you will need:

A base coat (Orly Bonder) and top coat (Seche Vite aka the best top coat ever).

A red polish (China Glaze Salsa) and a black polish (China Glaze Liquid Leather).

White Acrylic Paint (Americana White Wash) and a red striper pen (Nail Art Red).
A black fine point Sharpie pen.
A fine point paintbrush (10/0 Loew-Cornell 5803 Spotter). I got this one at Micheal's for a dollar or so.

Some whole reinforcement stickers.
The Tutorial!!!!
Step 1:

Start with clean, dry nails that have been filed with your cuticles pushed back.
Step 2:
Apply a base coat.
Step 3:

Apply 2 coats of red polish. Let fully dry.
Step 4:

Stick hole reinforcing sticker on nail so that you get a small rounded crescent section by the cuticle showing. This will be the top lip.
Step 5:
Use your Sharpie pen to trace around the edge of the sticker. Don't worry if you get any ink on your skin, nail polish remover will take it right off.

It should look like this when you remove the sticker. This will provide a guide for later.
Step 6:

Again place a sticker on your nail this time to make the bottom lip. Make a crescent shape this time on the tip of your nail. Trace with black Sharpie.
Step 7:

Remove the sticker and there you have the outline for the lips and mouth.
Step 8:

Fill in the lines you just drew with a black polish. Don't worry it doesn't have to be perfect. The world is full of crooked mouths, plus you will barely see the lines after we apply the teeth. Sorry the picture is over exposed my camera was not wanting to take this picture I took 25 shots and this was the best one.
Step 9:

Use your paint brush and acrylic paint to create teeth. I just shake up the paint and use the paint out of the lid makes a smaller clean up when you are done.

For best results use more pressure at the base of the teeth and less pressure at the tip (or point) of the teeth. Feel free to make the fangs as long (or as short) as you want...if you are so inclined you could even make all the teeth pointy or have two sets of fangs (Like in the TV show Blood Ties)..really dealer choice here. I happen to like vamps with two fangs, the rest of their teeth being normal so that's what I did. But if you like 50 Days of Night Vampires (i.e. a mouth full of jacked up razor sharp teeth) do that. In fact if you do that message/email me a picture, I'd like to see it. You can also stop here if you are happy with just the fangs. I however will continue because a vampire mouth is not a vampire mouth with out a little blood. After all vampires are such messy eaters. Also make sure it has plenty of time to dry.
Step 10:

Use your nail striper pen to add a little carnage to this vampire mouth. Also FYI, I got this stiper at the dollar store, so don't worry about the prices in beauty supply stores. Stipers don't have to cost you and arm and a leg.

Apply as much or as little blood as you want. Let dry. Give it 15 minutes. Stiper products have notoriously slow dry times.
Step 11:

Apply a top coat, and you're done.
And because I can't help it I have to attach a song. If I Was Your Vampire by Marilyn Manson. If you don't like him (him? them? hmm..not sure on the personal pronoun here, but you get the idea) don't listen to it (I happen to adore him the person and them the band. Dang you personal pronouns!) but I think it fits this mani so I am posting it.
Well there you have it my Vampire Fang Tutorial. I hope you enjoyed it. And more importantly feel like you can try it. Let me know if you do. Specially if you do that 50 Days Of Night idea..that sounds pretty cool I may do it myself. Any way that's all I have for you guys today. Until next time, stay classy and stay polished.
XOXO
Great tutorial!! The design is bloody awesome :D
ReplyDeleteThank you. :D
Delete