Showing posts with label Taping Nail Art. Show all posts

Monday, March 17, 2014

Happy Saint Patrick's Day Manicure

     Today, I have some nail art to show you guys. It's been a couple months since I posted nail art and those of you who are regular readers know why. I've just been over the whole drama and bullying in the nail art world. But I decided that I would go ahead and post some nail art since it was kind of a holiday (hear this as not holiday enough so that I don't have to work) and I'm like <5% Irish (which is enough to claim....right?) But anyway I decided, you know what, screw the bullies. I'm gonna do my thing, and post some GD nail art. So here it is:

Pictures:

Indoor no flash. 

Indoor no flash. 

Indoor no flash. 

What I Used:

China Glaze - Running In Circles
OPI - Love.Angel.Music.Baby
OPI - 4 In The Morning

     To get this look I used the taping method and then used a dotting tool (or a teeny tiny paint brush) to add the gold accents. So yeah...it's green, black and gold...and after talking with my BFF we decided that it's kind of a Loki-esque manicure too...but what's a girl to do when a holiday uses green and gold (both colors look ick on me, so I need the black to balance it out. But seriously whenever I wear green I get asked if I'm sick...It's not a good look for me! Clearly whomever picked these colors for a holiday did not take deathly pale people such as myself into account). Besides it's not my fault they share colors. Also I like Loki so whatever. Let it be whichever you choose...but for me I'm saying it's Saint Patrick's Day...because I feel less like a freak of nature that way. But I digress, I have a tendency to do that (I'm like look a butterfly and away I go. But you guy know that already. And you like me anyway. Thanks for that.). (Focus RaynesOnyx, FOCUS!) I hope you guys have a happy Saint Patrick's Day. Be responsible and don't drive drunk please (You know how I feel about that). That's all I have for you today. Until next time, stay classy, and stay polished.
XOXO

Monday, November 25, 2013

Two Thor 2 - Loki Inspired Manicures

     Today, I have a 2 different manicures to show you guys. I am going to see Thor 2 tonight (it had to be put off on account of illness until now). Actually, I did one of them before I got really good and sick so my nails are a bit longer (before they chipped while I was sick). I painted one and then ended up not going to the movie because I got to go to the doctor instead. Not a fun trade. Anyway my favorite character in Thor, and The Avengers is Loki. I'm not going to lie Tom Hiddleston is man pretty, but he's also more fun and more charming than Thor IMO (plus Thor is all blond...and a muscle bound monkey. Gross...). So I did a couple abstract homages to his royal Asgardian trickster self. Here are my Loki manicures:

Loki Manicure 1:

Indoor no flash. 

Indoor with flash. 


What I Used:

China Glaze - Liquid Leather

China Glaze - Goldie But Goodie
China Glaze - Passion
Deborah Lippmann - Defying Gravity

Loki Manicure 2:

Indoor no flash. 

Indoor with flash. 

What I Used:

China Glaze - Liquid Leather
OPI - Goldeneye
Deborah Lippmann - Defying Gravity

In case you don't know who Loki is:
Have you been living under a rock? I don't know if we can be friends if you don't know who Loki is...

See...man pretty. 

Movie Trailer:

      So there you have it. Which one do you guys like better? I like them both. To be honest I feel a little rusty having been away from nail art for so long. I have to get back into the habit. I've got another one coming up that's pretty epic, look for it later this week. Anyway that's all I have for you guys today. Until next time, stay classy, and stay polished.
XOXO

Thursday, October 31, 2013

We're Simply Meant To Be

     So today I have a Nightmare Before Christmas manicure for you guys. I'm calling this one 'We're Simply Meant To Be." With an underlying theme of the love Jack and Sally share (hence the title). It didn't  turn out exactly as I wanted it to...So we are just going to call it stylized Jack and Sally...In fact if you like it you have my friend Marcie to thank for it (I was going to scrap it until she said she loved it). Conversely if you hate it she's also the one to blame (sorry Marcie). Anyway here it is:

Pictures:

Indoor no flash. 
*The middle finger is supposed to be a pumpkin with a heart carved in it. 

Indoor with flash. 

Closeups:

Sally's dress inspired nail. 

Jack's Face. 

Sally's long red hair and stitches. 

What I Used:

China Glaze - Desert Sun
China Glaze - Happy Go Lucky
China Glaze - Dress Me Up 
China Glaze - Bahamian Escape
China Glaze - Shower Together
China Glaze - Street Chic
China Glaze - Salsa
China Glaze - Roguish Red
China Glaze - Kalahari Kiss
China Glaze - White On White
China Glaze - Liquid Leather
Nail Art - Cocoa
Nail Star - Medium Orange
Konad - Black
Americana - White Wash
Ceramcoat - Black
Stamping Plate (for stripes on Sally's dress nail) - Essence - Have Fun 01

   The song from the film:

We're Simply Meant To Be

     Usually, this would be the part where I tell you haw I did it...but this one is pretty complicated and I'm not entirely happy with it so I'm just going to throw this up here and say "Here, I did a thing." If you like it I'm glad, if you hate it...well I'm not happy with it either. But anyway I hope you guys all have a safe and happy Halloween and eat lots of candy, watch lots of horror films and and carve lots of pumpkins. That's all I have for you guys today. Until next time, stay classy, and stay polished.
XOXO

Tuesday, August 20, 2013

Kick-Ass 2 Manicure

   Today, I have some nail art based on Kick-Ass 2. I absolutely love Kick-Ass 1 and I'm going to the squeal tonight. So, I thought how about some nail art. If you haven't seen Kick-Ass you so should. It's awesome. Hit-Girl is a freaking awesome little bad ass super hero. Anyway here's my nail art.

Pictures:

Indoor no flash. 

Right Hand Hit Girl:

Indoor no flash. 

Indoor with flash. 

Indoor no flash. 

Indoor with flash. 

Left Hand Kick-Ass

Indoor no flash. 

Indoor with flash. 

Indoor no flash. 

Indoor with flash. 

What I Used:

China Glaze - Solar Power
China Glaze - Turned Up Turquoise
China Glaze - Gothic Lolita
China Glaze - Pink-ie Promise
China Glaze - Liquid Leather
China Glaze - Avalanche
Finger Paints - Be A Pal-Ette
OPI - Don't Pretzel My Buttons
Konad - Black
Ceramcoat - Black
Americana - Mustard Seed
Shany Stamping Plate - SH212
Striping Tape

Kick-Ass 2 Trailor:


And a song from the Kick-Ass 1 (in a Hit Girl kicking ass sequence) that I just love and that every woman should have on their iPod.

Bad Reputation by Joan Jett

     I used several different forms of nail art on this manicure. I used taping, stamping, self made decals, and free hand nail art. This one took forever but had a pretty good payoff I think. I didn't attempt faces because all my faces look just awful. That aside I think it turned out pretty well. Are you guys going to see Kick-Ass 2? Or have you already? As excited as I was for this movie to come out I waited for Tuesdays because my local theater does cheap popcorn on Tuesdays. I can't wait I'm so excited. Anyway, I hope you guys enjoy this manicure. Until next time, stay classy and stay polished.
XOXO

Thursday, July 11, 2013

Minion Nails

     Hey guys! Tonight I am going to see Despicable Me 2. Which in case you didn't know I am pretty excited about. I freaking love the Minions. They are just about the cutest thing ever. Anyway I decided I was going to do some Minion nails for tonight. Want to see them? I thought that you might. Here they are, my Minion Nails:


Pictures:

Indoor no flash. 

Indoor with flash. 

Outdoor. The weather is not cooperating with me today. 

Closeups:

Thumb

Middle finger. 


What I Used:
China Glaze - White On White
China Glaze - Foie Gras
China Glaze - Icicle
OPI - Ogre The Top Blue
OPI - Candlelight
OPI - Mourning Glory
Nail Star - Black
Americana - White Wash
Ceramcoat - Black
Sharpie Pen (fine) - Black
Striping tape
Seche Vite - Top Coat
Orly - Bonder

And Some Minions In Action (I Didn't Make These GIF's I Just Adore Them):

Probably my favorite expression by a minion. I use this All.The.Time.

See Minions fan-girl too. XD

And The Trailer...In Case You Haven't Seen It (If That's Even Possible):


     I used several different methods to get this look. I used self made decals (for the eyes), striping tape (for the goggle band) and free hand (for the hair, mouths, and overalls). Over all I am very pleased with how this came out. I just love the minions and I adore having them literally at my fingertips. Do you think I should name them? I'm gonna need 10 names...okay go. JK Anyway that's all I have for you guys today. Because I have to go finish getting ready for the movie now. So, until next time, stay classy, and stay polished. 
XOXO

Thursday, July 4, 2013

4th Of July/Independence Day Manicure.

      Today, I have a quick manicure to share with you guys. If you are not in the US, the July 4th is our Independence Day. And this is the manicure I did to celebrate it. I actually got the idea for this after watching  a YouTube Video by SimpleLittlePleasures (see tutorial here) and decided I wanted to try a similar manicure but I added stars (cuz I love stars)...plus I had to make it my own. That said this would look better on her nails...because they are gorgeous (and a length I will never be able to achieve) and right now I have nubs after a laundry accident that ripped one nail down to the quick on my left hand (laundry day is a very dangerous day!). So these are pictures of my right hand (so please pretend to not notice the odd angles). But anyway here's my 4th of July mani. Enjoy.

Pictures:
Indoor with flash. 

Indoor no flash. 

Outdoor in sunlight.

Outdoor in shade. 

What I Used:
China Glaze - White On White
China Glaze - Dandy Lyin' Around
China Glaze - Dorthy Who?
China Glaze - Ruby Pumps
Konad - White
Cheeky Plate - CH4

     I used a combination of taping, sponging, free hand, and stamping to get this look. It took forever. And I have a ton, and I do mean a ton of nail polish on. So I sat trying to not dent my nails for a really long time. That's why this post is up so late. I hope you enjoy it. Anyway have a safe and happy 4th of July. Until next time, stay classy, and stay polished.
XOXO

Tuesday, April 16, 2013

Instagram Purple Nails for Boston Reciprocal Gradient.

     Today, I have some nail art for you guys. This one is part of an Instagram effort to show solidarity/support to/for the victims of the atrocity that happened in Boston yesterday. Basically the idea is to wear purple on your nails to show support for the victims. So, I figured if I was going to do this, I was really going to do this and do a really involved mani (which this is my first time attempting this type of manicure) to show support. How it helps...I'm not quite sure but it's a principle thing I think. Anyway, here is my first attempt at a reciprocal Gradient manicure. This manicure is inspired by a manicure I saw on Simple Little Pleasures YouTube channel.

Pictures:
Indoor with flash . 

Indoor no flash. 

Outdoor in sunlight. 

Outdoor in shade. 

What I used: 
China Glaze - Spontaneous
China Glaze - VIII
OPI - Rumple's Wiggin' (I used my fave and HTF OPI so you know I mean business)
Striping tape

     I really like how this manicure turned out. And I forgot how ombre/gradient manicures make your nails look even longer (some kind of optical illusion). But over all I am very pleased with how this manicure came out. It's pretty, it's purple and it took forever (just over 2 1/2 hours) to get right. But I think it's worth the effort to show Boston our support. I now challenge all of you, my lovely readers to also paint your nails purple to show support for the Boston Marathon bombing victims. And show me what you guys come up with. That's all I have for you guys today. Until next time, stay classy, and stay polished.
XOXO

Wednesday, April 10, 2013

Easy French Manicure Tutorial (3 Different Ways)

     When I posted my swatch of New Flesh on my instagram I had a few people ask how to do a french manicure (on account of it's pale peachy nature). So I decided that I would do a tutorial of three of the four ways I know of to try. why not all four you ask. Because the fourth way involves rubber bands and I am allergic to latex...so yeah...only three ways. Also this is going to be a picture heavy post and I even made a crappy tiny video for part of it (my first video filmed with my Droid and edited on my laptop)...Be gentle I've never shot/edited/posted a video before...but feel free to laugh at my crappy cameramanship...(is that a word? Probably not but I'm using it anyway). But with no further ado...here's three different ways to get the french manicure look.

Supplies:
Top coat and base coat. Dealers choice these are my favorite though.

Hole reinforcement stickers (bought at an office supply store so long ago I don't even remember where) and tape (I used painters tape because it's what I had but use whatever tape you have on hand/prefer). 

Before whichever method you choose to try make sure do this:
Start with a clean dry nail. 

Apply a base coat. Okay now you can proceed. 

Method Number 1:

The Tape Method:

What you'll need: 
A jelly base coat to give a nice sheen to the nail, (I used China Glaze - Love Letters) and a tip color (I used Color Club - Beyond).

Apply one thin coat of your jelly polish to the nail and let dry. 
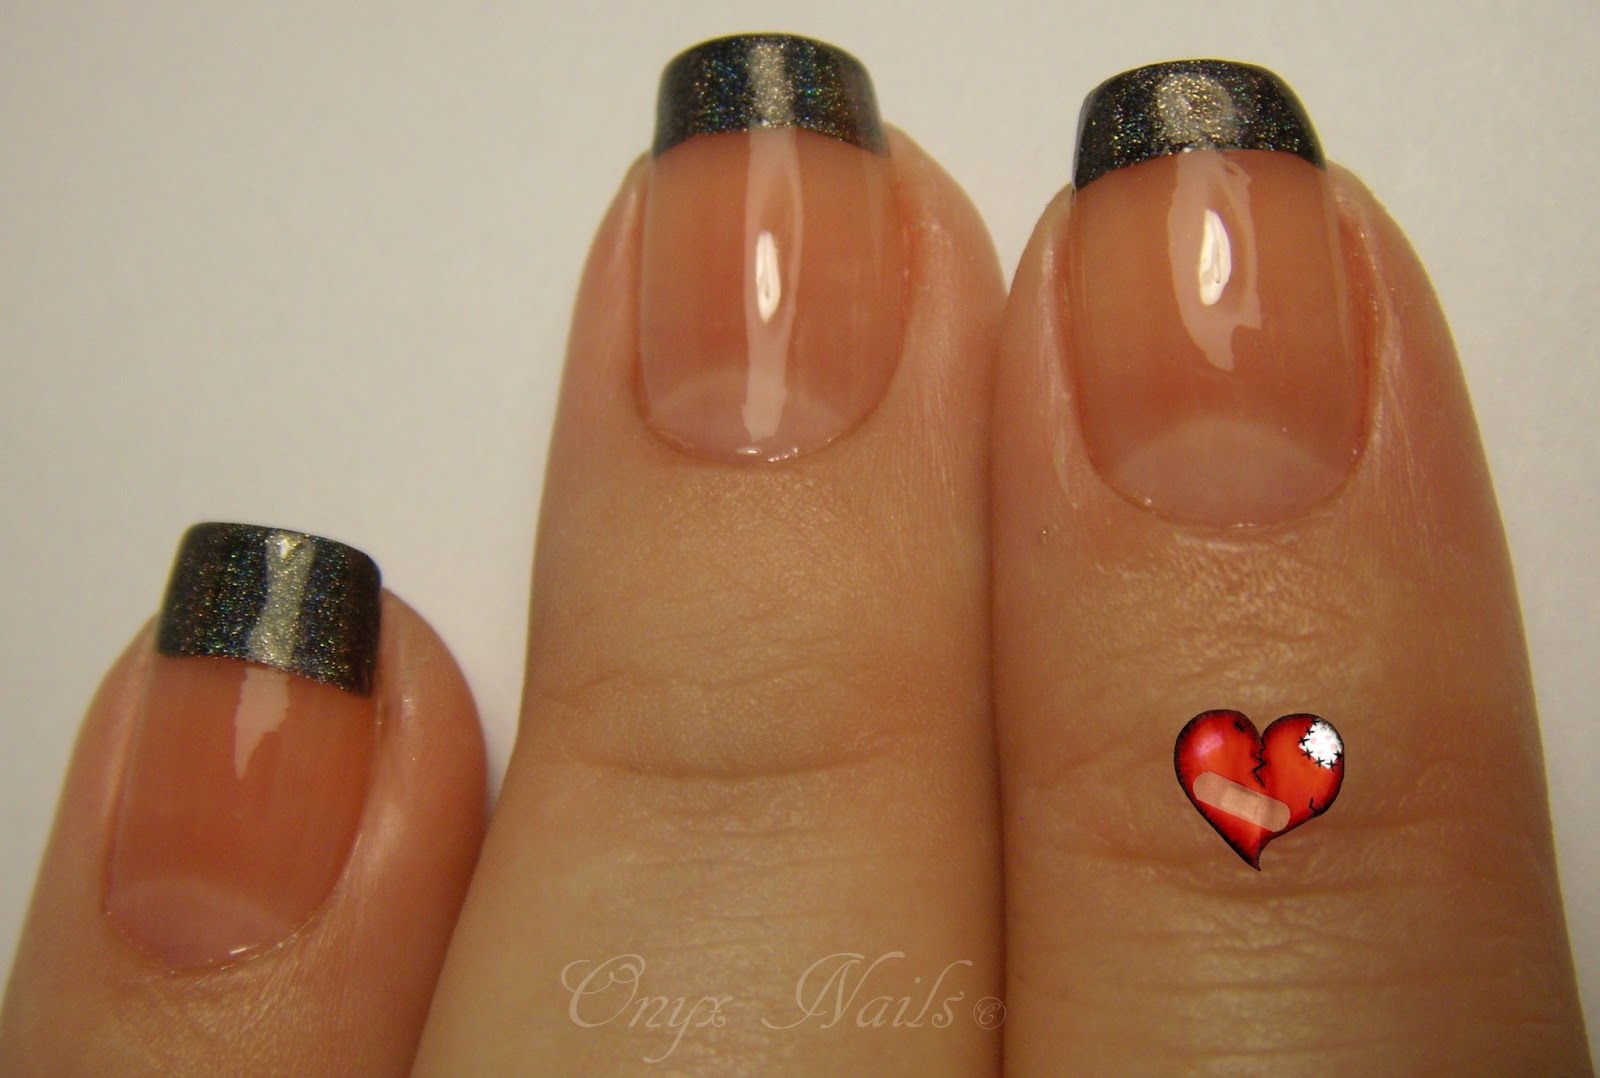
*Wounded heart still covering gross cut. 

Apply tape to nail making sure that the line of the tap is below your natural nail line so the white doesn't peep through and give you away. I did each nail at a different depths of tape to show you some possibilities...if you were doing this on your own you would want to keep them as similar as possible for continuity. I just wanted to give you options and you could even go deeper if that's the look you like. I prefer a more natural look...but hey different strokes and all that. 

Next apply the tip color of your choice. 

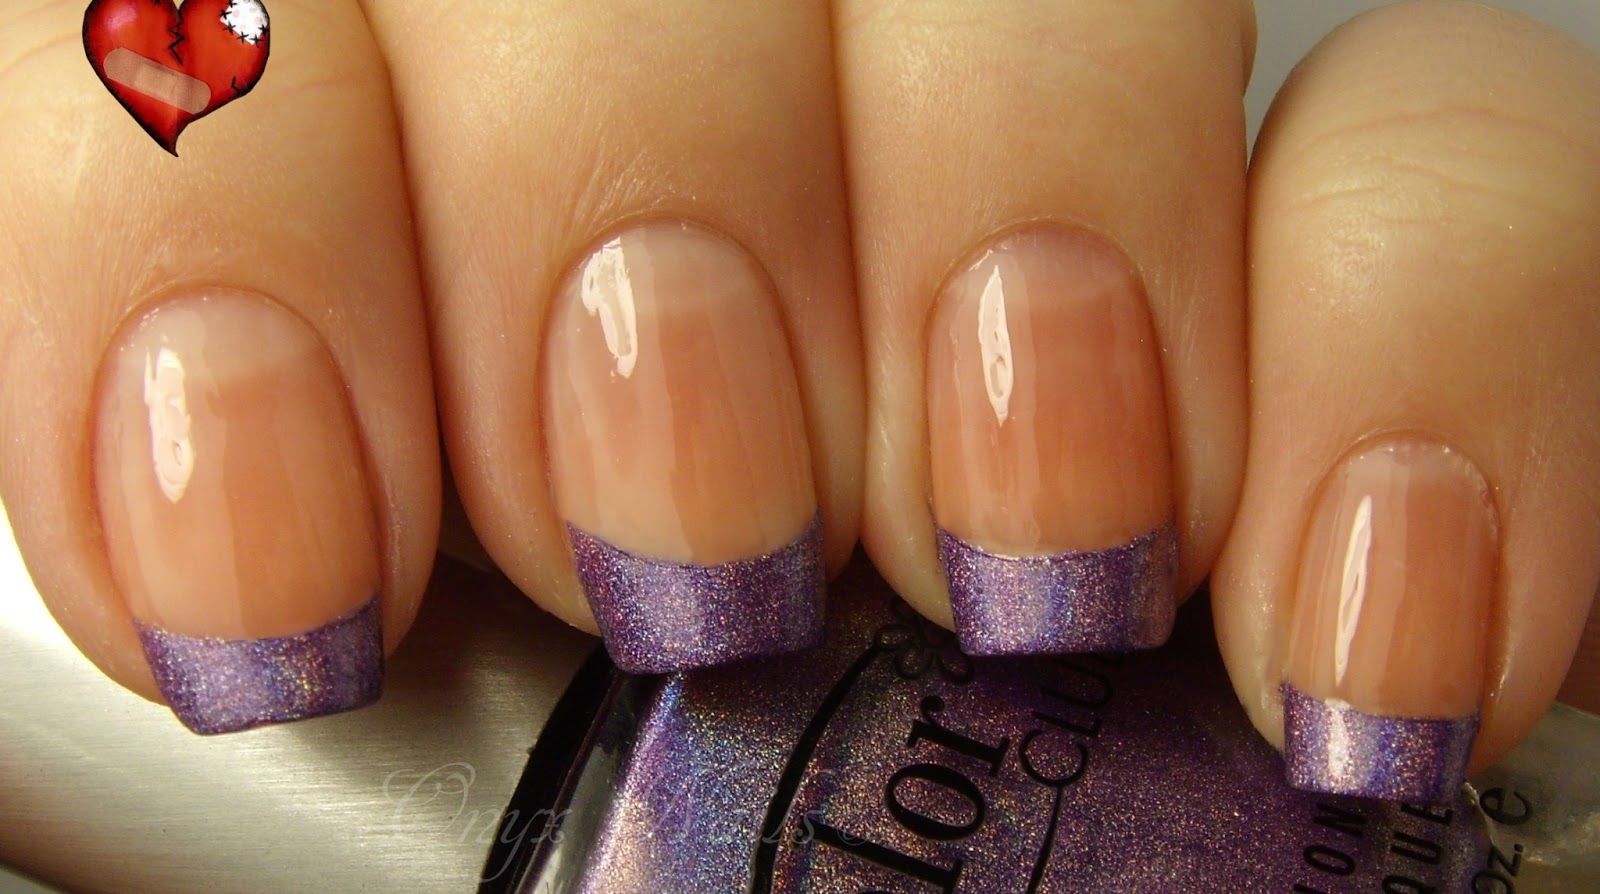
Before the polish dries remove the tape pulling from left to right carefully so as not to smudge the polish. 

Clean up your cuticles and apply topcoat. 

Then guess what...you are done.

Method Number 2:

The Sticker Method:

A jelly base ( I used China Glaze - Ooh La La Peach) and a tip color (Color Club - Eternal Beauty).

Apply jelly base color.

Imagine that your hole reinforcement stickers have a little clock on them (like I drew on the one above. Now take your stickers and make a cut at 8 and four for large nails and 7 and 5 for small nails. 

Once you've made your cuts it should look like the letter "C."

Apply the stickers to your nails as pictures. Again places them as low or as high as you want to give you different tip widths. but always go below the white of your natural nail. 

Apply the tip color. 

Remove the stickers before polish is dry then clean up the cuticles. 

Apply a top coat when all polish is completely dry. 

There you have it a more bowed French manicure. This style looks more like traditional nail tips that you would have put on in a salon. 


Method Number 3:

Freehand: 

Jelly base color ( China Glaze - Striptease) and tip color (Color Club - Halo-Graphic)

Apply your jelly base color. 

So I don't have a tripod to hold my phone while I recorder this so I was only able to record a video showing how to roll your finger to apply the polish. Rest the hand with the brush on a flat surface and move only the nail to be painted as shown above in one smooth rocking motion from one side to the other. Right to left or left to right. The most important part of this is to move the finger to me painted not the brush. If you move the brush you could end up getting a wiggly line instead of the clean one we are after. 

Clean up you're cuticles.

Apply a topcoat. 

And there you have it a free hand French manicure. This one may be a bit harder/trickier to master than the other forms. But don't give up you'll get it. 

   So there you have it three different ways to achieve the French Manicure look all by yourself. I know I didn't use New Flesh, but there's a good reason for that. When I do a tutorial I like to use commonly available (read this as easily obtainable) polishes that are on the inexpensive side... because what good is a tutorial if you can't find/afford the product(s) used (am I right?). New Flesh being limited release Deborah Lippmann it didn't fit either of my tutorial requirements...but if you have it already then use it. I'm sure it would be lovely here. I also used several different sheer jelly polishes so you can get an idea of what different shades would look like...to be honest most jellies just add extra shine and a tiny (read this as so little color your husband won't notice any color at all) hint of color so use whichever sheer jelly you like/have. I really hope you guys enjoyed this tutorial and that you feel like you can attempt one (or all) of these methods to get the French Manicure look. Let me know if you try it and/or if you have any tutorial request for future posts with a comment below. That's all I have for you today. Until next time, stay classy, and stay polished.
XOXO