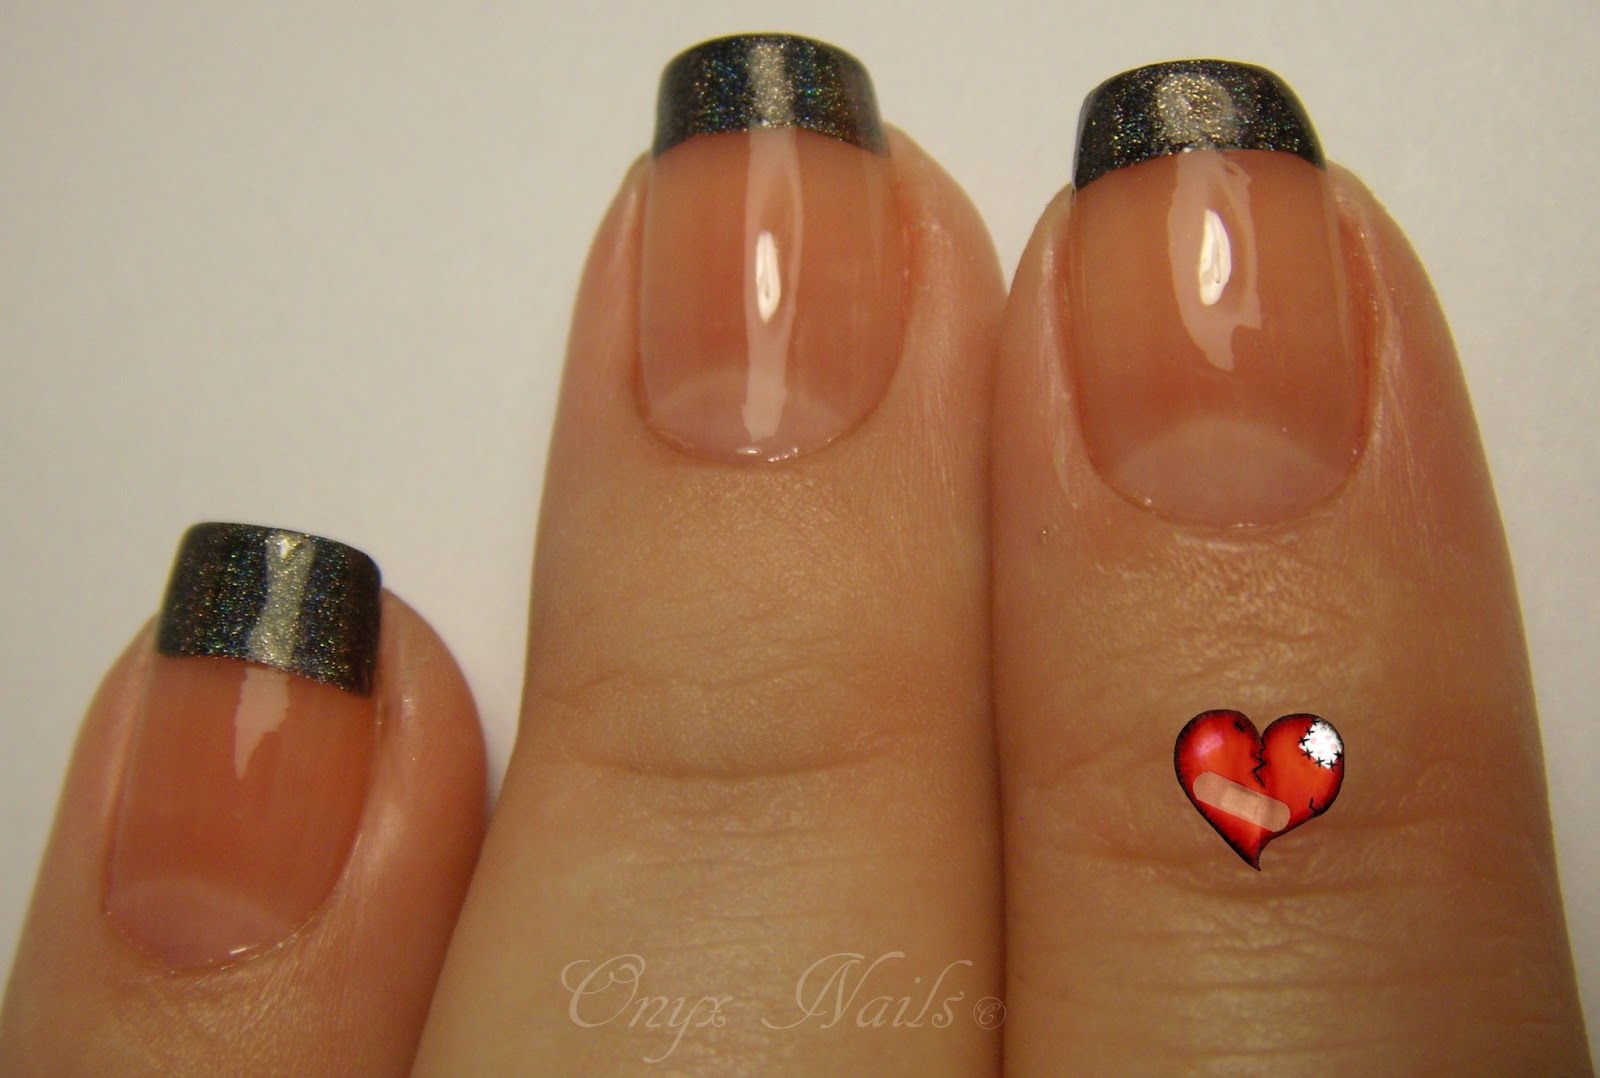
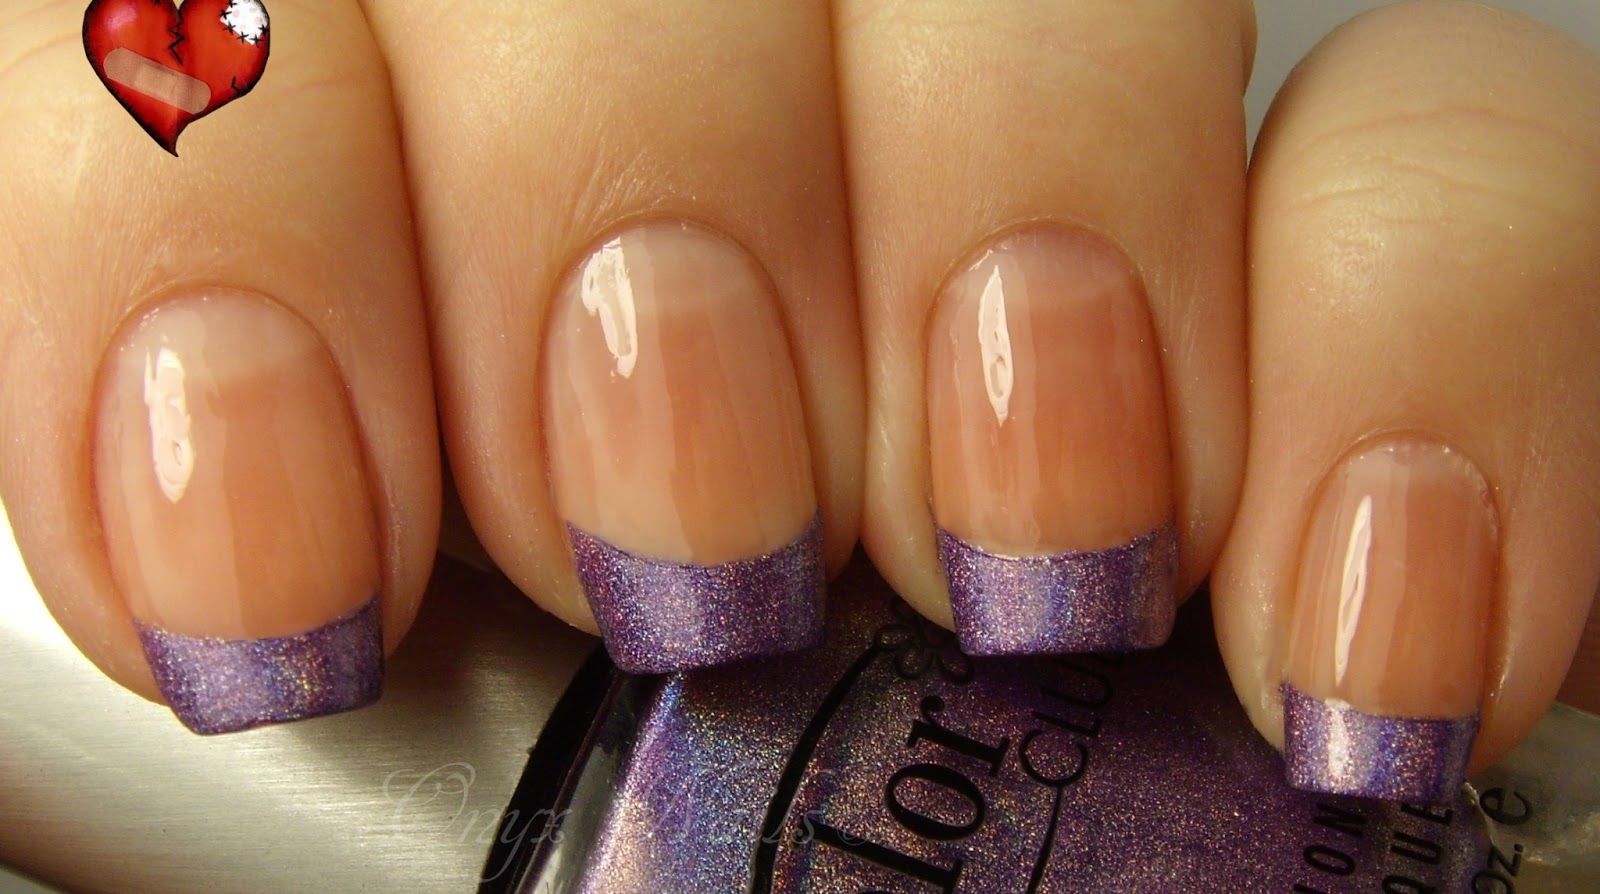
When I posted my swatch of
New Flesh on my instagram I had a few people ask how to do a french manicure (on account of it's pale peachy nature). So I decided that I would do a tutorial of three of the four ways I know of to try. why not all four you ask. Because the fourth way involves rubber bands and I am allergic to latex...so yeah...only three ways. Also this is going to be a picture heavy post and I even made a crappy tiny video for part of it (my first video filmed with my Droid and edited on my laptop)...Be gentle I've never shot/edited/posted a video before...but feel free to laugh at my crappy cameramanship...(is that a word? Probably not but I'm using it anyway). But with no further ado...here's three different ways to get the french manicure look.
Supplies:
Top coat and base coat. Dealers choice these are my favorite though.
Hole reinforcement stickers (bought at an office supply store so long ago I don't even remember where) and tape (I used painters tape because it's what I had but use whatever tape you have on hand/prefer).
Before whichever method you choose to try make sure do this:
Start with a clean dry nail.
Apply a base coat. Okay now you can proceed.
Method Number 1:
The Tape Method:
What you'll need:
A jelly base coat to give a nice sheen to the nail, (I used China Glaze - Love Letters) and a tip color (I used Color Club - Beyond).
Apply one thin coat of your jelly polish to the nail and let dry.
*Wounded heart still covering gross cut.
Apply tape to nail making sure that the line of the tap is below your natural nail line so the white doesn't peep through and give you away. I did each nail at a different depths of tape to show you some possibilities...if you were doing this on your own you would want to keep them as similar as possible for continuity. I just wanted to give you options and you could even go deeper if that's the look you like. I prefer a more natural look...but hey different strokes and all that.
Next apply the tip color of your choice.
Before the polish dries remove the tape pulling from left to right carefully so as not to smudge the polish.
Clean up your cuticles and apply topcoat.
Then guess what...you are done.
Method Number 2:
The Sticker Method:
A jelly base ( I used China Glaze - Ooh La La Peach) and a tip color (Color Club - Eternal Beauty).
Apply jelly base color.
Imagine that your hole reinforcement stickers have a little clock on them (like I drew on the one above. Now take your stickers and make a cut at 8 and four for large nails and 7 and 5 for small nails.
Once you've made your cuts it should look like the letter "C."
Apply the stickers to your nails as pictures. Again places them as low or as high as you want to give you different tip widths. but always go below the white of your natural nail.
Apply the tip color.
Remove the stickers before polish is dry then clean up the cuticles.
Apply a top coat when all polish is completely dry.
There you have it a more bowed French manicure. This style looks more like traditional nail tips that you would have put on in a salon.
Method Number 3:
Freehand:
Jelly base color ( China Glaze - Striptease) and tip color (Color Club - Halo-Graphic)
Apply your jelly base color.
So I don't have a tripod to hold my phone while I recorder this so I was only able to record a video showing how to roll your finger to apply the polish. Rest the hand with the brush on a flat surface and move only the nail to be painted as shown above in one smooth rocking motion from one side to the other. Right to left or left to right. The most important part of this is to move the finger to me painted not the brush. If you move the brush you could end up getting a wiggly line instead of the clean one we are after.
Clean up you're cuticles.
Apply a topcoat.
And there you have it a free hand French manicure. This one may be a bit harder/trickier to master than the other forms. But don't give up you'll get it.
So there you have it three different ways to achieve the French Manicure look all by yourself. I know I didn't use
New Flesh, but there's a good reason for that. When I do a tutorial I like to use commonly available (read this as easily obtainable) polishes that are on the inexpensive side... because what good is a tutorial if you can't find/afford the product(s) used (am I right?).
New Flesh being limited release Deborah Lippmann it didn't fit either of my tutorial requirements...but if you have it already then use it. I'm sure it would be lovely here. I also used several different sheer jelly polishes so you can get an idea of what different shades would look like...to be honest most jellies just add extra shine and a tiny (read this as so little color your husband won't notice any color at all) hint of color so use whichever sheer jelly you like/have. I really hope you guys enjoyed this tutorial and that you feel like you can attempt one (or all) of these methods to get the French Manicure look. Let me know if you try it and/or if you have any tutorial request for future posts with a comment below. That's all I have for you today. Until next time, stay classy, and stay polished.
XOXO