Here's what you will need.

Base coat (Orly Bonder), top coat (Diamond Dry), a makeup sponge (or 2), something to mix polish on, and (not pictured), a dotting tool for mixing polish, and even though they are not pictured Q-tips (because there will be a lot of clean up on this one).

Finger Paints Easel Come, Easel Go!, Finger Paints Art You Blue?, Finger Paints Easel-Y Entertained, Finger Paints Laugh My Art Off, and China Glaze Fairy Dust.
This chart may also be helpful for when we get to sponging so you know where to put the polish.
Each line denotes where you should apply polish to. As in from the line noted and up toward the tip.
Start with a clean dry nail with the cuticles pushed back.

And yes that's a band aide on my finger I have a gross blister and no one wants to see that so I covered it with a bandage to spare you all the ickyness. Just pretend it's not there.

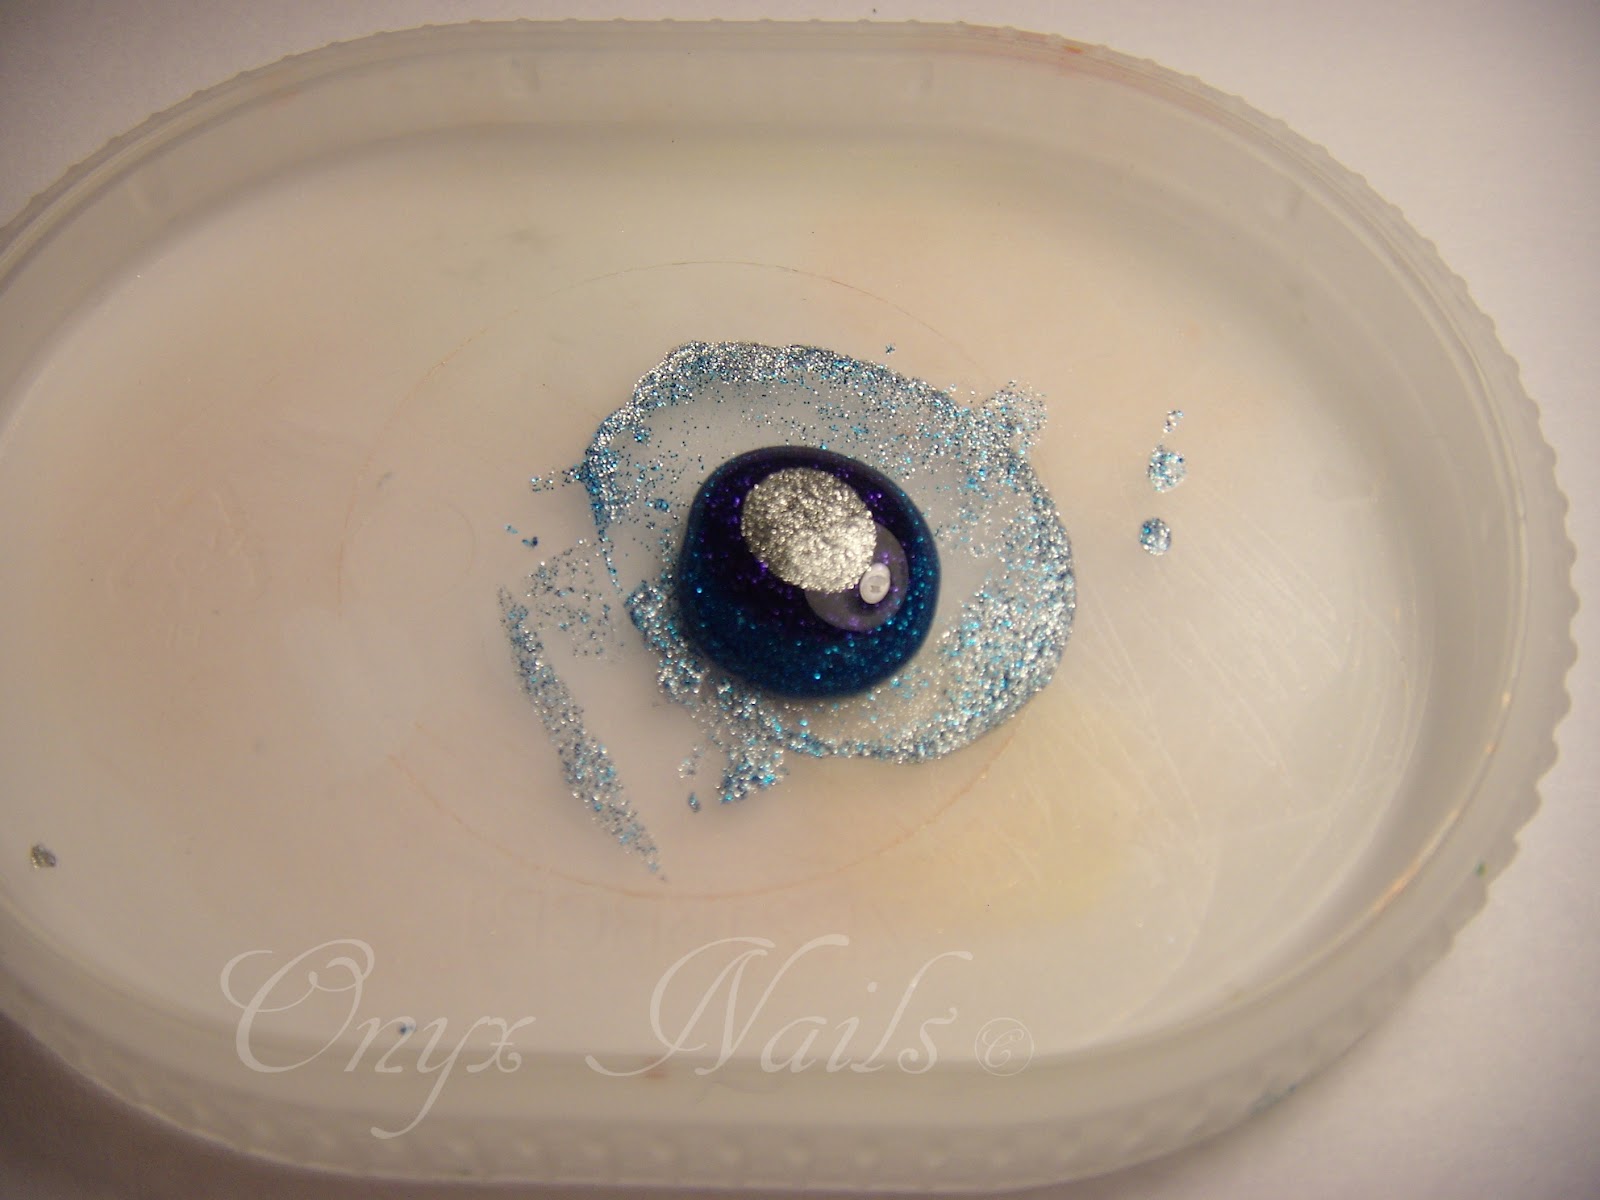
This is where this gradient gets a little tricky. To achieve the look I wanted I had to mix and match colors. Here's the mixture I used for the first layer of polish. 6 drops of Laugh My Art Off, and 2 drops of Easel Come, Easel Go.

Then mix it with your a dotting tool until they looked like this. If you don't have a dotting tool you could use a tooth pick instead. After all we are just mixing here it's really doesn't matter what you use to mix the polish so long as it gets mixed.


It should look like this on your sponge.

Then apply polish mixture over 3/4 of the nail leaving the bottom portion of the nail bare.

Wait for it to dry. And this is very important because rushing will only gum up the works later on. Here's my secret for making dry times fly by. Music. That's right the key to avoiding watching the clock is music. I'm a huge music buff and will listen to literally anything except country music (I won't give on this one don't ask me to or it won't end well for anyone involved). To pass the time while I do my nails I like to put on some music it keeps me from being bored while I am not able to use my hands. So I'll give you my play list as I made this tutorial, but you can make your own playlist I'll never tell. It's the spirit of the play list that's important here. While I waited I listened to She's So Mean by Matchbox Twenty and Wide Awake by Katy Perry (About 8 minutes).
To make the second layer I used 5 drops of Laugh My Art Off, 2 drops of Easel-Y Entertained, and 1 drop of Easel Come, Easel Go. It should look like this.
Then mix it with your dotting tool.
Apply with the makeup sponge as before. Cover top 1/2 of the nail with this polish mixture.

Wait for it to dry. Again give it the same amount of time to dry. Put on some tunes it makes the dry time go by faster. I listened to Blow Me (One Last Kiss) and Raise Your Glass both by P!nk.
Third coat of glitter is also a mixture. 5 drops of Laugh My Art Off, and 5 drops of Easel-Y Entertained.

Then mix it together.
Apply with a sponge. Cover top 1/4 of the nail with this polish mixture.

Wait for it to dry. Again put some music on, Finger Paints makes great polishes but they dry at a snails pace so at least enjoy yourself as it takes it's sweet time to dry. This round I listened to This Is What Rock N Roll Looks Like, and Naughty, Naughty both by Porcelain Black.
Forth coat of polish. This one is not a mixture. Apply Art You Blue? to the narrow edge of your makeup sponge like this.

Then apply it only to the very tip of the nail.

Wait for it to dry. You're listening to some tunes by now right? You should be, I am. I'm listening to Alive by Atrium and Broken Music by A Kiss Could Be Deadly.
Clean up the cuticles.

Apply a micro holographic polish over whole nail (China Glaze Fairy Dust).

Again wait for it to dry. This will take the longest to dry. Sorry guys but we have a lot of polish on our nails at this point and if we rush now we will have smudges or a total polish mess that will look nothing like we want. I listened to Shut Up And Let Me Go by The Ting Tings, The Best Damn Thing by Avril Lavigne, and Tainted Love by Marilyn Manson (Not a Manson fan try the original by Soft Cell). Added an extra song here because with this much polish it needs longer to set up.

And there you have it a blue glitter gradient. You can try this with any polish or shades of polish you want. I hope you feel like you can try this now. If there is any gradients that I have done or that someone else has done that you would like to see a tutorial on leave me a comment below and let me know (plus a link to the picture you want me to duplicate). Also I hope you enjoyed the tutorial and the play list that inadvertently got tangled up in it. And as always stay classy and stay polished.
No comments:
Post a Comment