So, first off before I get to the manicure I wanted to let you guys know why I've been MIA the last week or so. It's really a super fun collection of "super fun" (Sarcasm alert) events. My car broke down, then the keyboard in my laptop quit working (then randomly started working again the next day), and I broke my baby toe or my left foot (don't ask how it's kind of an embarrassing story, who am I kidding when is it ever a non-embracing story when I hurt my clumsy ass). Plus, a couple of good things also distracted me: I read four books I couldn't put down, and got a new Sims 3 expansion pack...so yeah all these things have converged to distract me. But anyway, I am back and I have some nail art to show you guys. Do you remember the Mermaid Manicure Tutorial I posted back in January? Well after getting my new Sims 3 Expansion (Island Paradise) and playing with the new mermaids I wanted to do a new mermaid manicure. But this one is a different version of the Mermaid manicure. Or at least a different color scheme at any rate. I am calling this one Sunset Mermaid. Enjoy.
Pictures:
Indoor no flash.
Indoor with flash.
Outdoor in sunlight.
Outdoor in shade.
What I Used:
ORLY - Ingenue
OPI - Sprung
China Glaze - Passion
Shany Stamping Plate - SH222
I used sponging to get the base gradient and then stamped over top of it. Over all I really like this look. It reminds me of tropical sunsets and mermaids of course. Anyway, I hope you guys enjoy this manicure as much as I do. Until next time, stay classy and stay polished.
XOXO
I realized that I haven't done any nail art and more specifically any tutorials for quite some time so I thought I would do one today. Also I just wanted to mention that there is actually a really good reason I don't do a ton of nail art or tutorials, and it's because I have both carpel tunnel and a bulged disk in my neck (at C5). And for whatever reason they are both more troublesome in the winter. So I do a lot of swatches (between tutorials and nail art) because those posts can usually be done even if either (or both) are giving me trouble. I just wanted you guys to know so you don't feel cheated when I post a lot of swatches and not a lot of nail art. IMO all nail posts have value but a recent event brought to my attention that others don't seem to think so. If you only want to see nail art I will post that, but not as often during the winter as I do during the warmer months.
Okay, now that's out of the way...Today, I am going to show you guys my version/interpretation of the mermaid manicure. And added bonus I am going to show you how to get the look yourself.
Finished product:
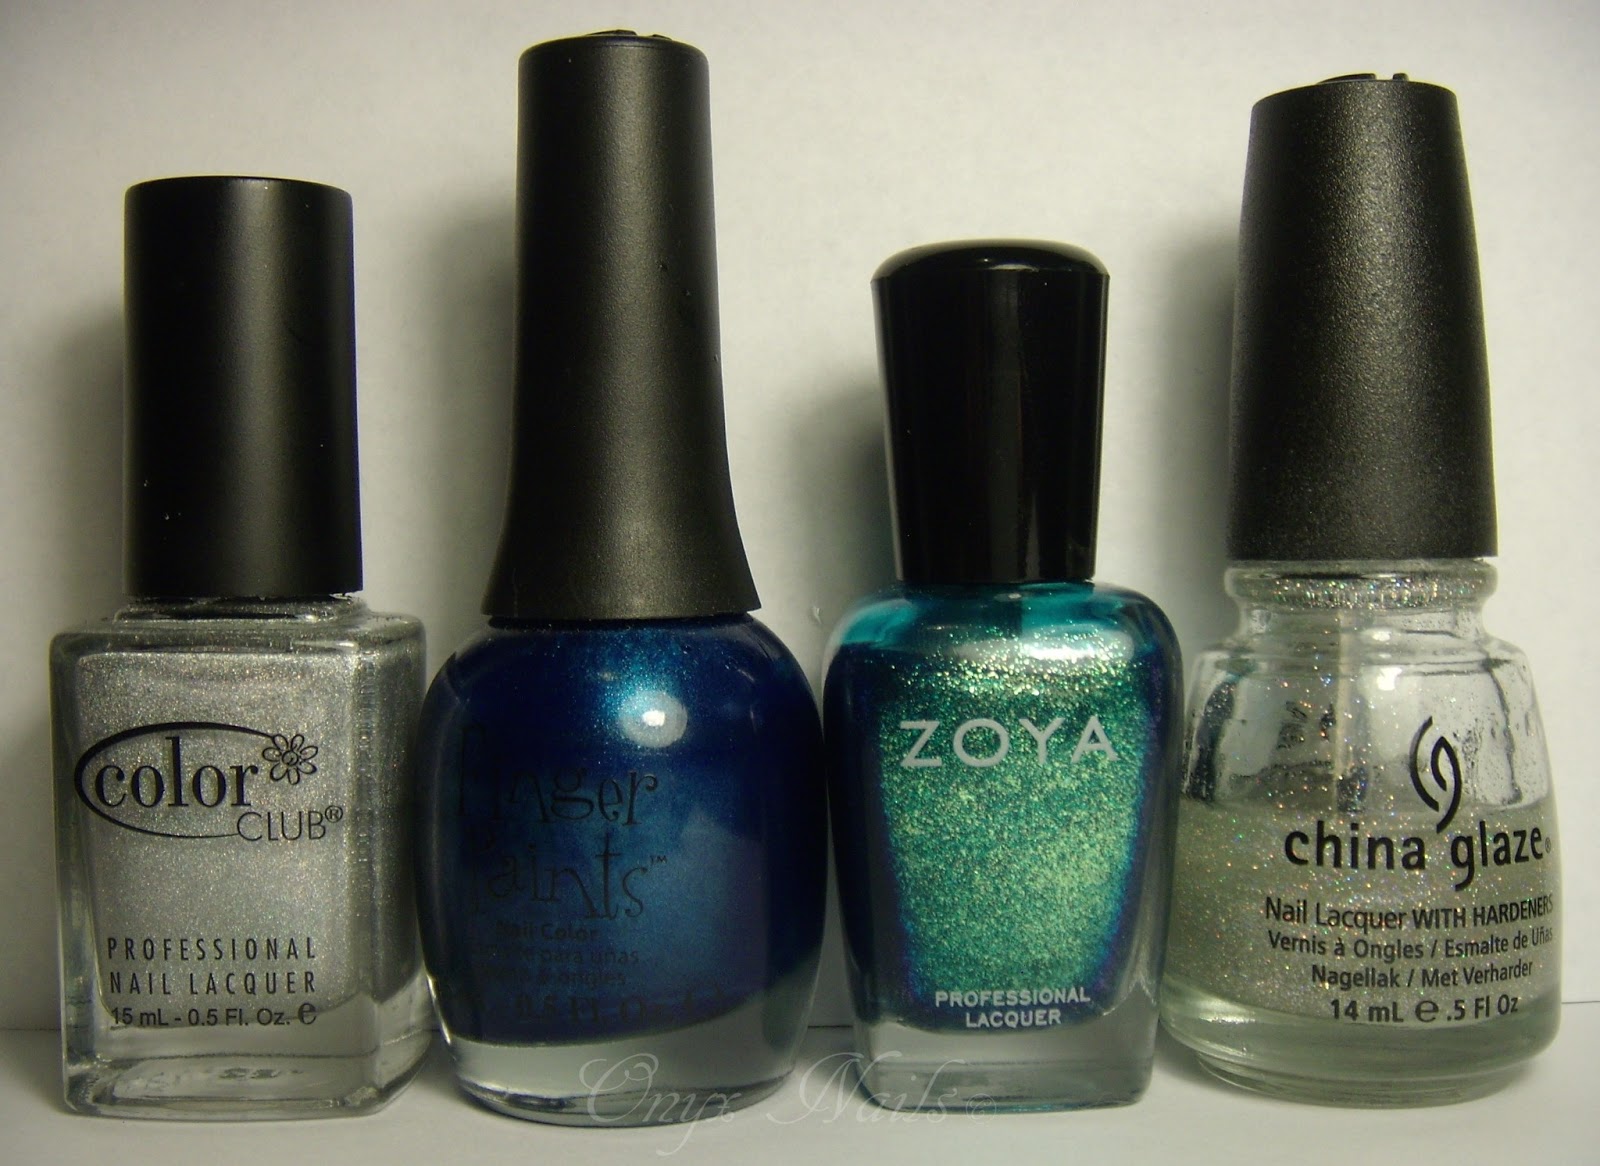
What You Will Need:
Top coat (Seche Vite) and a makeup sponge.
Color Club - Worth The Risque
Finger Paints - Artistic Azure
Zoya - Charla
China Glaze - Fairy Dust
Konad nail stamper and scraper. Shany plate number SH222.
And cotton buds for clean up.
Step one:
Start with fully polished nails. 2 coats of Zoya - Charla.
Step two:
Apply Finger Paints - Artistic Azure on edge of makeup sponge.
Step three:
Sponge Finger Paints - Artistic Azure liberally on the nail tip only. You may have to do a couple coats.
Then allow to dry.
Step four:
Clean up any polish you got on your skin.
Remember Finger Paints are slow dry polishes, so you will need lots of dry time.
Step five:
Apply a layer of Fairy Dust.
Let dry.
Step six:
Prepare stamping plate. Apply Color Club - Worth The Risque, scrape off excess, use stamper, then check the stamp to make sure it copied properly.
Step seven:
Stamp design on all nails.
Step eight:
Clean up cuticles again.
Step nine:
Apply top coat and allow to dry.
Finished product. Outdoor picture.
Mermaid by Train...cuz I thought it was relevant. Plus it was the only song I could think of that was mermaid related. Even though I'm not a big Train fan. I'm a nerd like that.
Well there you have it, my interpretation of the mermaid manicure. I hope you guys enjoyed this manicure and this tutorial. I also hope that you feel like you can now try it yourself because let's face it that's what this is all about right. I also want to thank my followers for understanding that I will do nail art as often as I can, and I really appreciate your support. Until next time Stay classy and stay polished.