Okay, now that's out of the way...Today, I am going to show you guys my version/interpretation of the mermaid manicure. And added bonus I am going to show you how to get the look yourself.
Finished product:

What You Will Need:

Top coat (Seche Vite) and a makeup sponge.
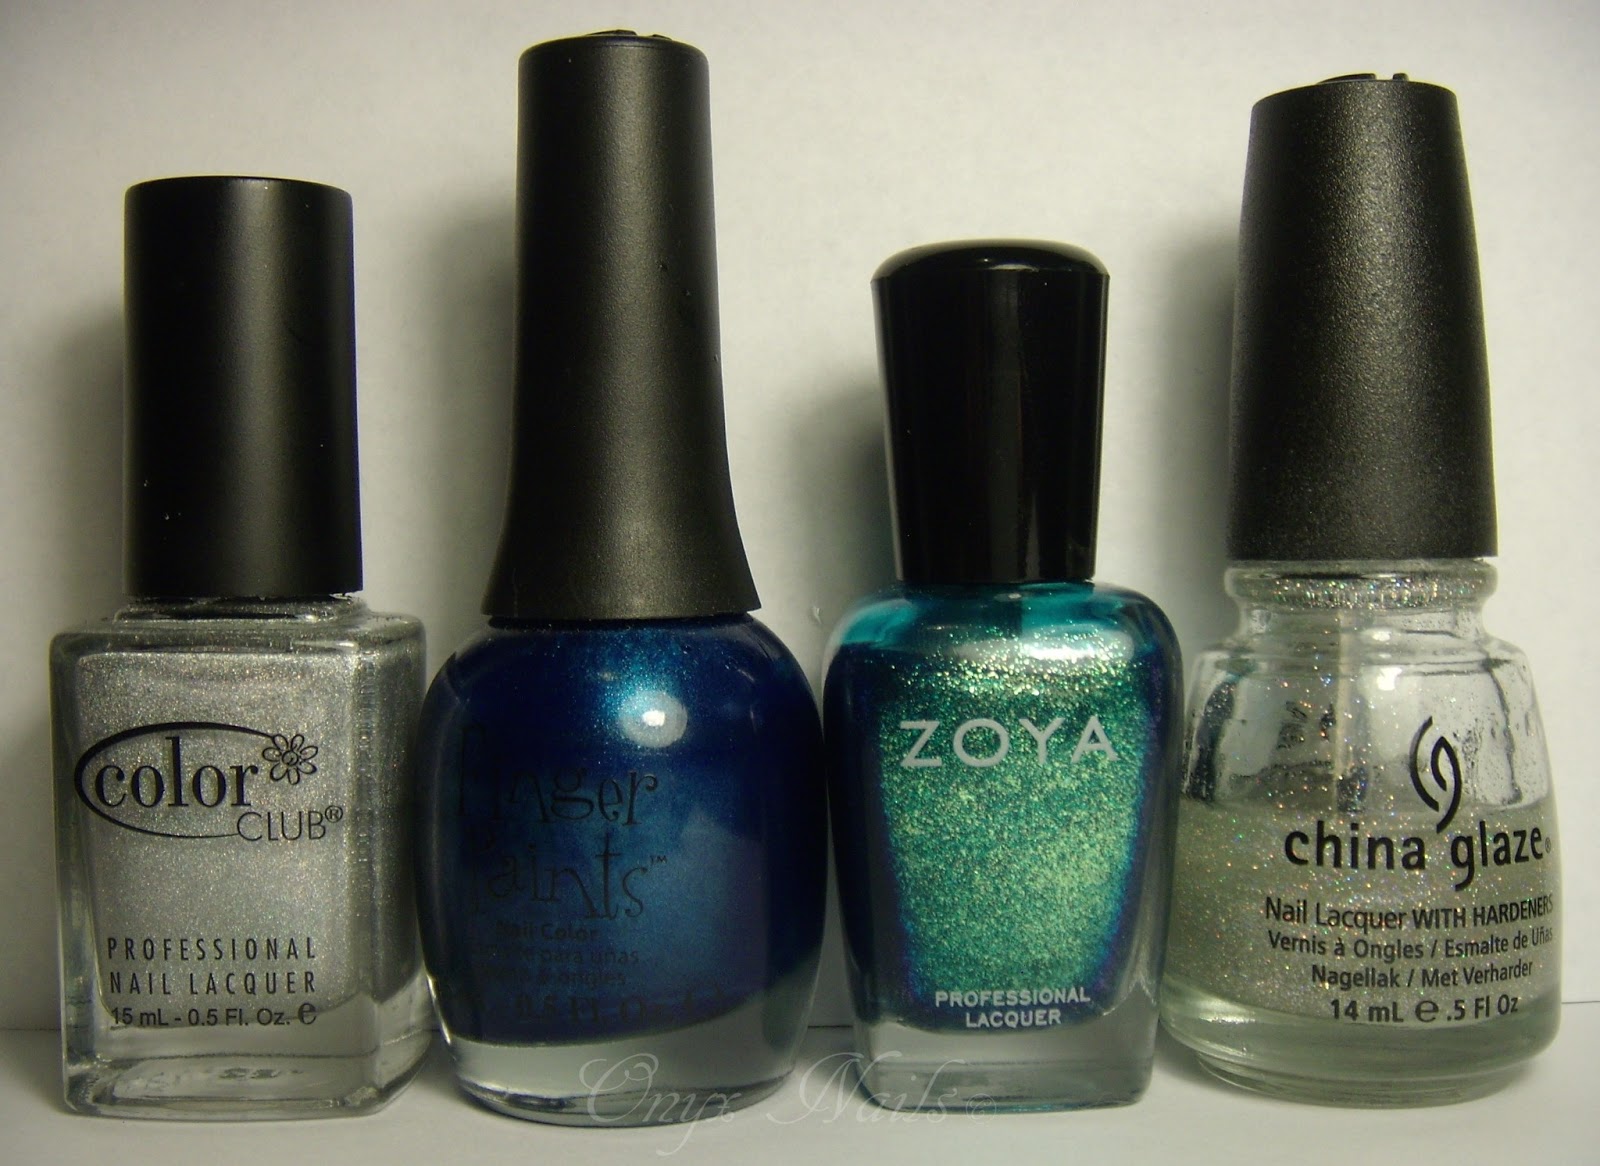
Color Club - Worth The Risque
Finger Paints - Artistic Azure
Zoya - Charla
China Glaze - Fairy Dust

Konad nail stamper and scraper. Shany plate number SH222.

And cotton buds for clean up.
Step one:

Start with fully polished nails. 2 coats of Zoya - Charla.
Step two:

Apply Finger Paints - Artistic Azure on edge of makeup sponge.
Step three:

Sponge Finger Paints - Artistic Azure liberally on the nail tip only. You may have to do a couple coats.
Then allow to dry.
Step four:

Clean up any polish you got on your skin.
Remember Finger Paints are slow dry polishes, so you will need lots of dry time.
Step five:

Apply a layer of Fairy Dust.
Let dry.
Step six:

Prepare stamping plate. Apply Color Club - Worth The Risque, scrape off excess, use stamper, then check the stamp to make sure it copied properly.
Step seven:

Stamp design on all nails.
Step eight:

Clean up cuticles again.
Step nine:

Apply top coat and allow to dry.

Finished product. Outdoor picture.
Mermaid by Train...cuz I thought it was relevant. Plus it was the only song I could think of that was mermaid related. Even though I'm not a big Train fan. I'm a nerd like that.
Well there you have it, my interpretation of the mermaid manicure. I hope you guys enjoyed this manicure and this tutorial. I also hope that you feel like you can now try it yourself because let's face it that's what this is all about right. I also want to thank my followers for understanding that I will do nail art as often as I can, and I really appreciate your support. Until next time Stay classy and stay polished.
XOXO
No comments:
Post a Comment